Disassembling the Display Assembly of a Dell Inspiron 15 7000 (type 7506)
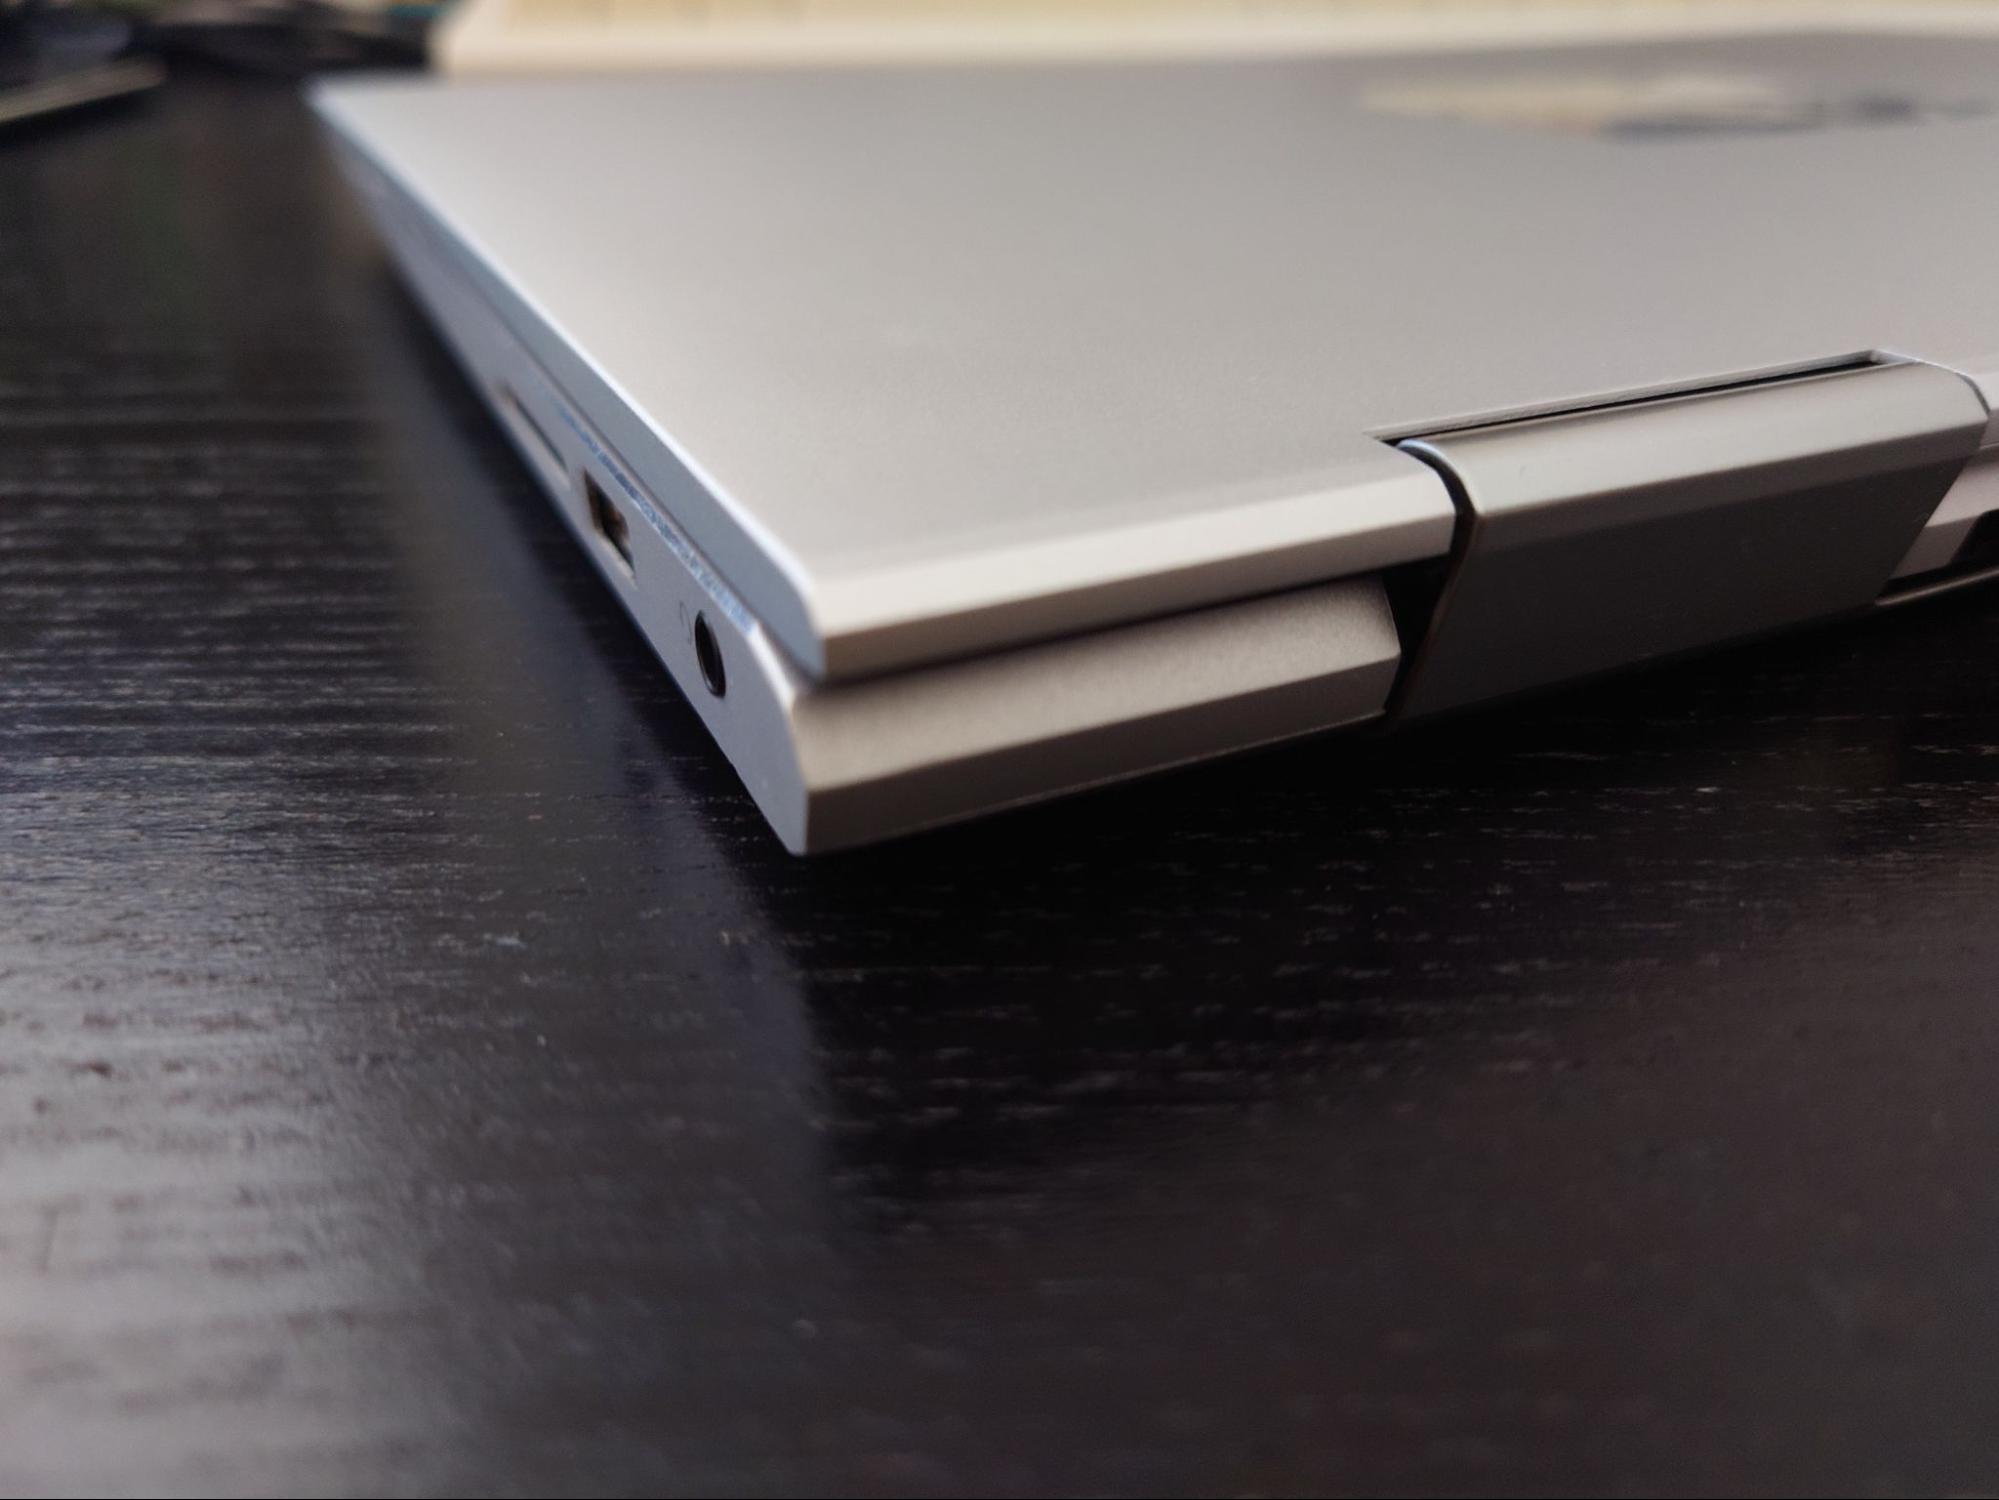
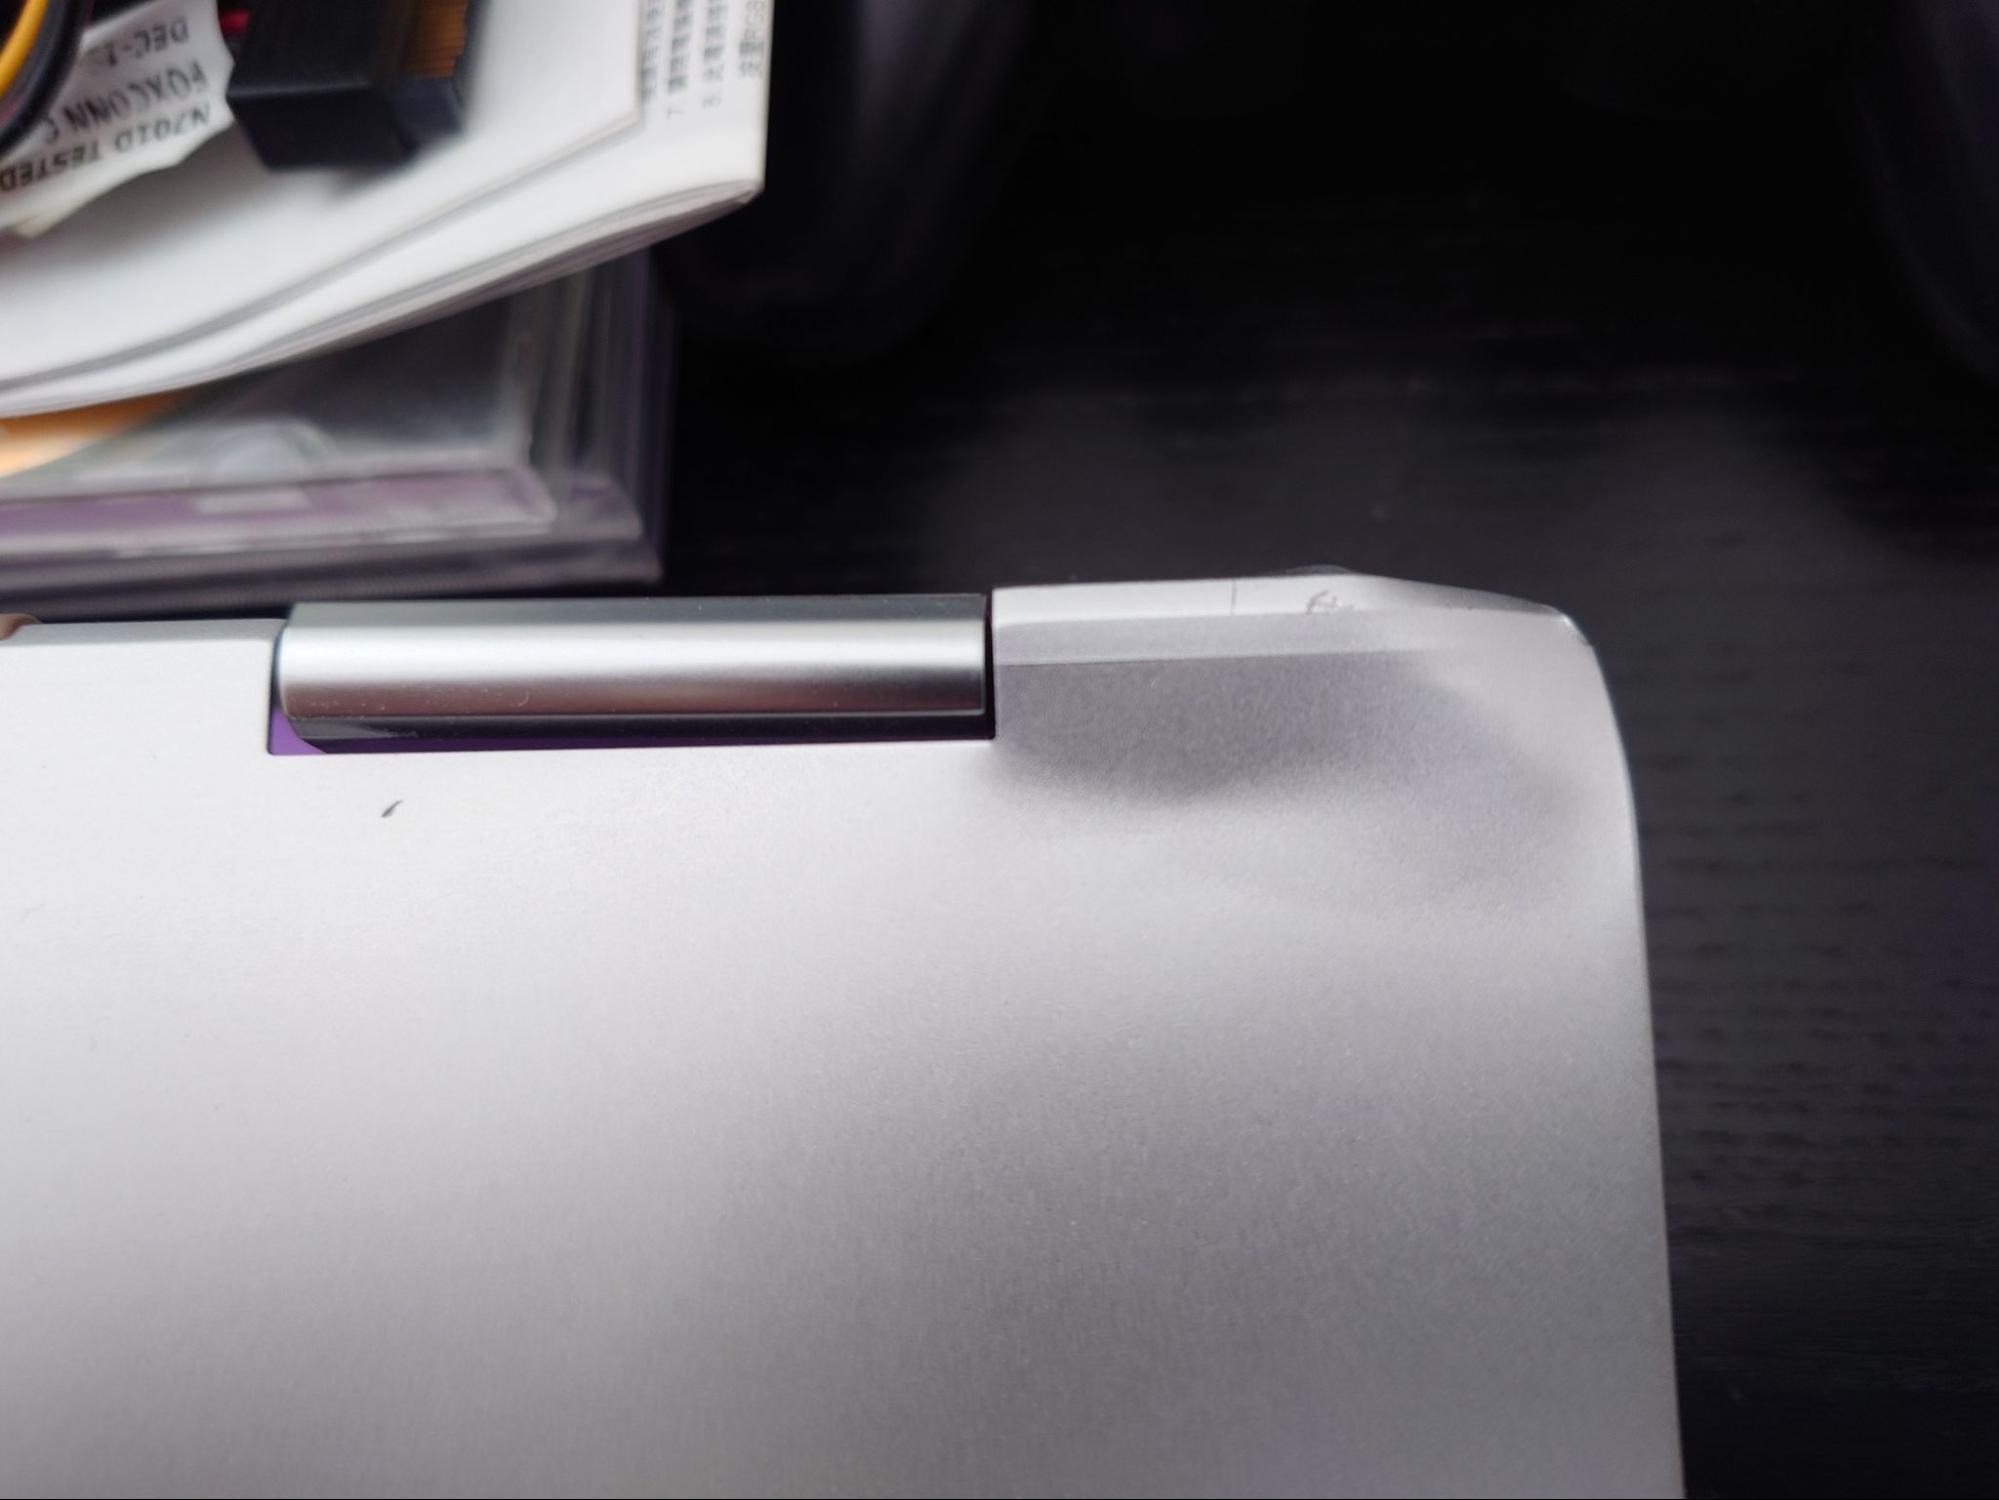
A friend had a laptop in need of repair, a simple job really. The right side corner of the top cover was damaged from a drop. Surprisingly it was only the metal cover that was damaged, the glass screen stayed intact. This meant the repair would be cheap, as only the top cover needed to be replaced, instead of the whole display assembly (which would’ve been very expensive given that this model was a full HD touchscreen spec). Thankfully there is a service manual for this model with helpful images, though it does not have instructions for removing the actual panel from the display assembly.
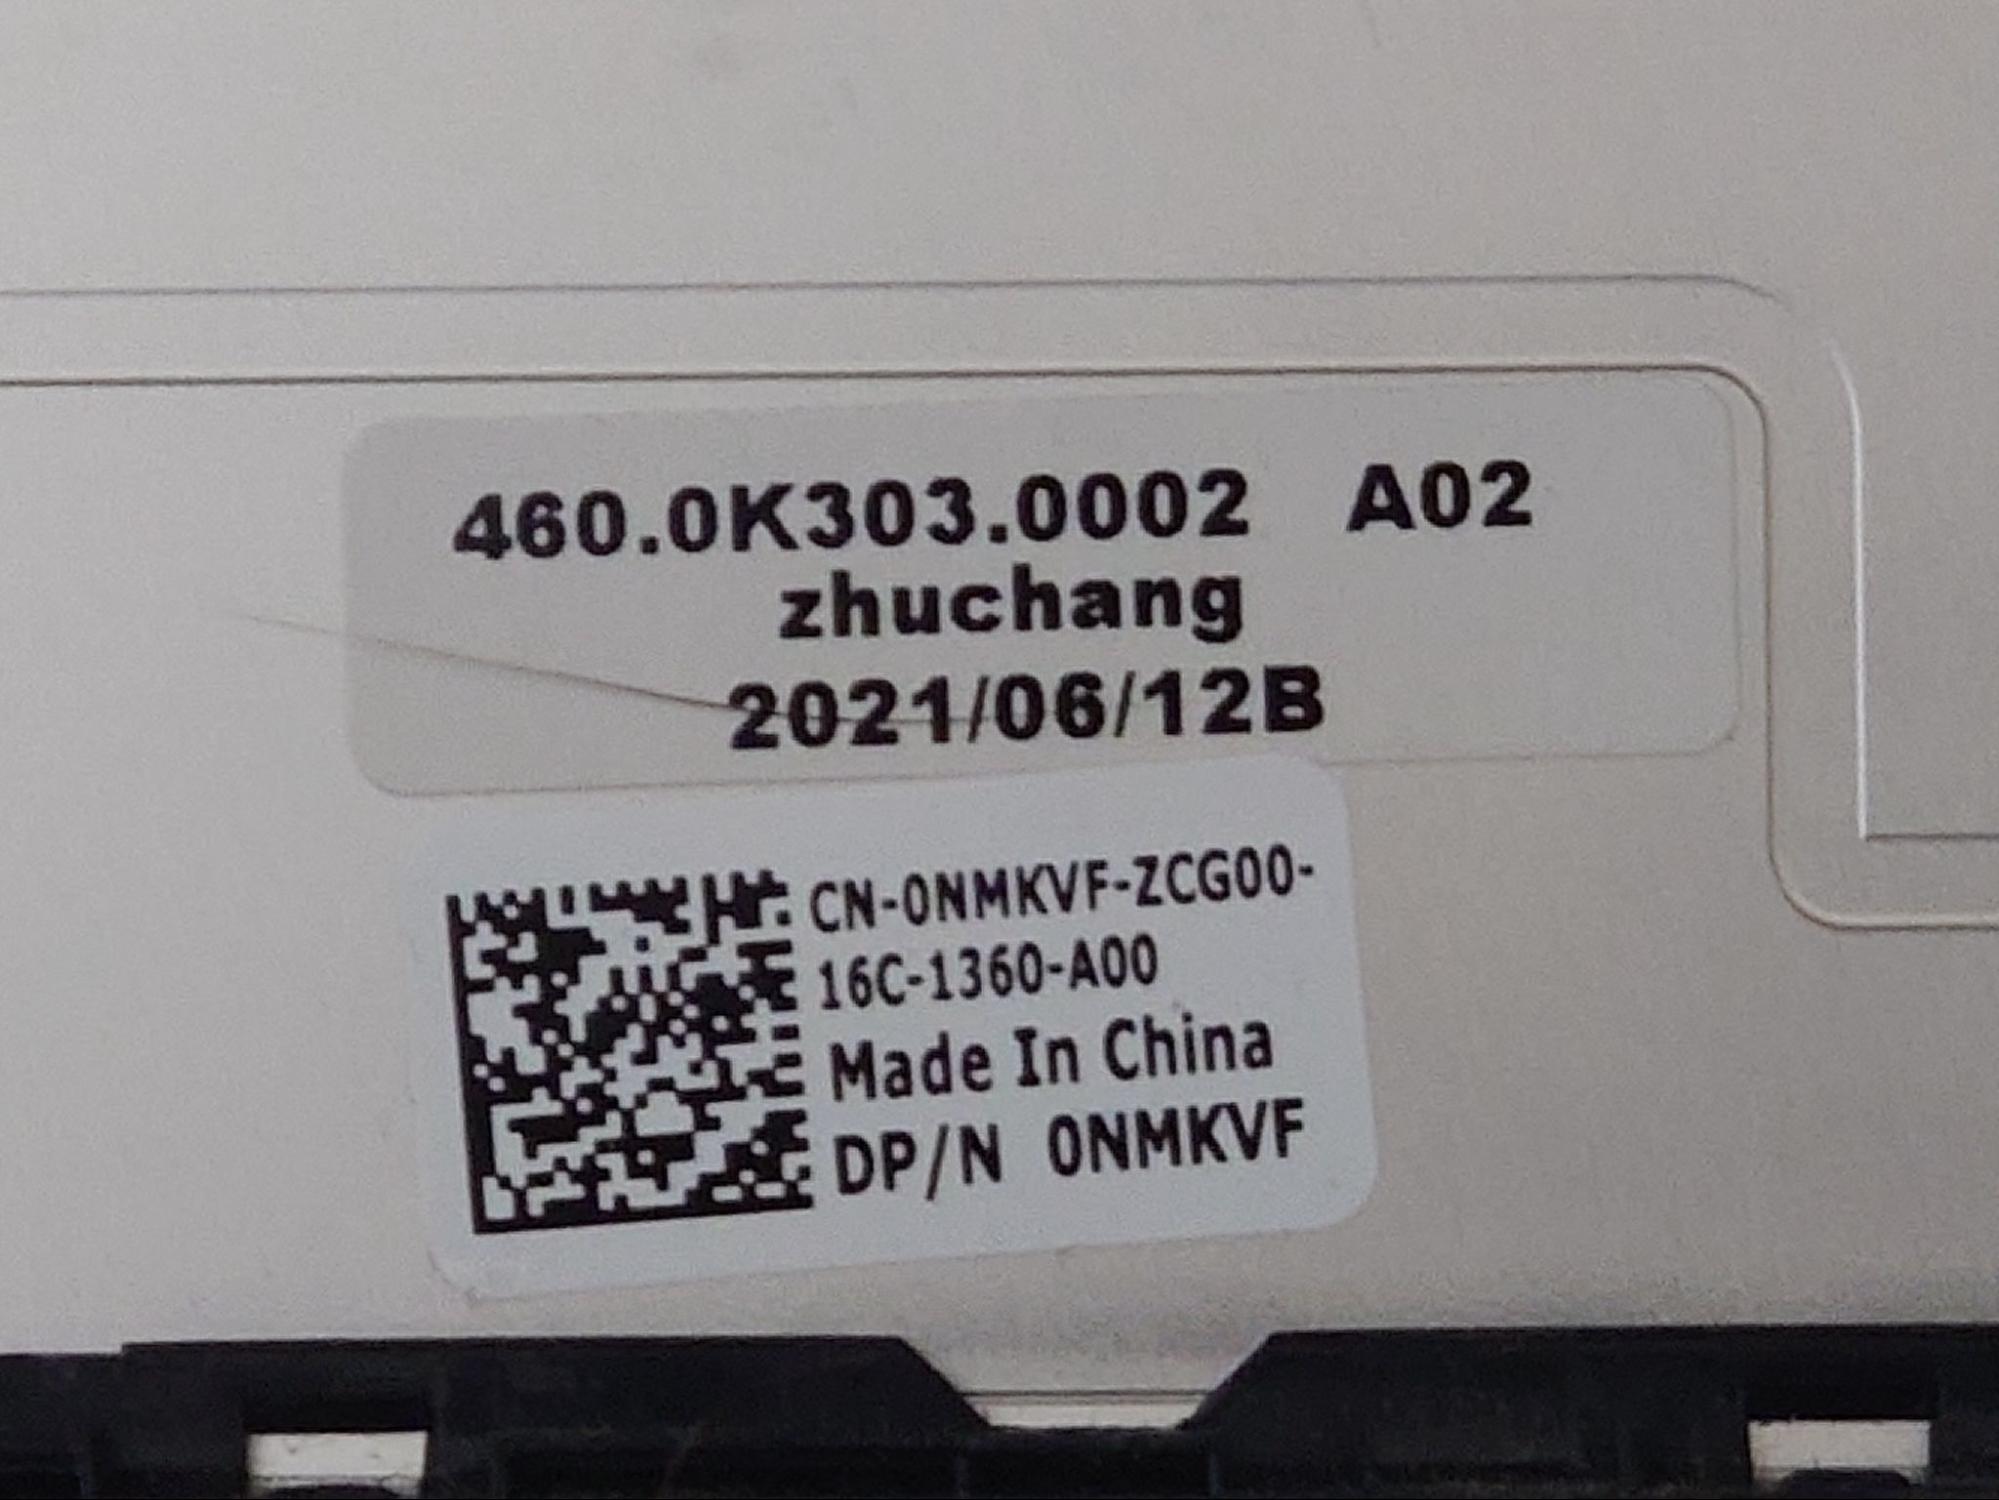
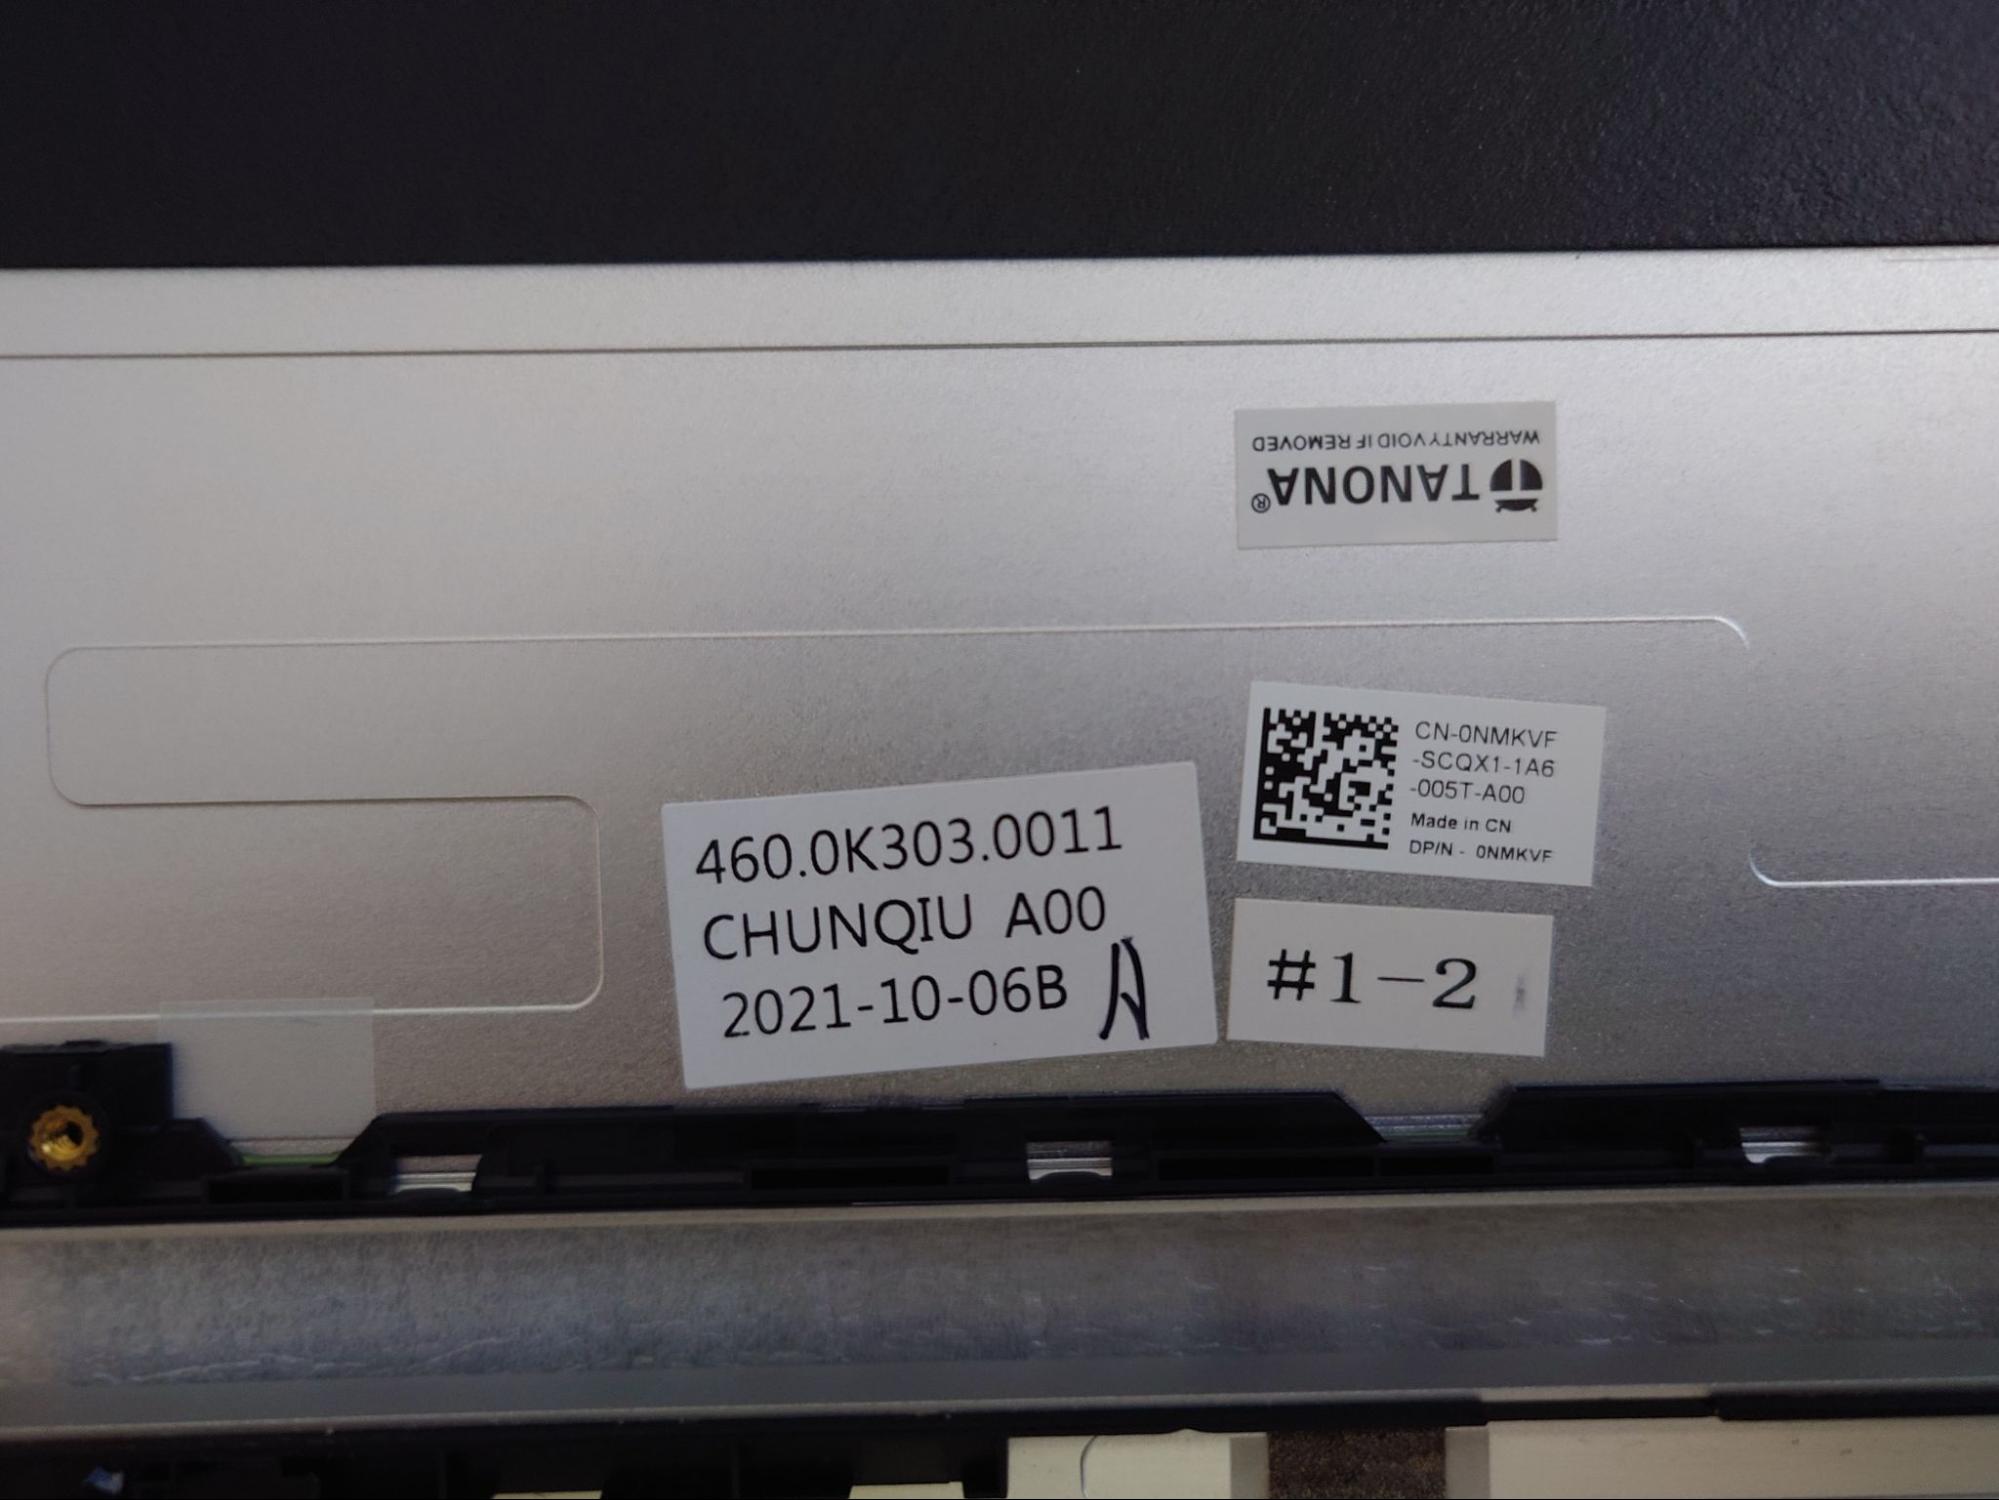
The replacement part can be found on AliExpress for AU$66.69 (not including GST), free 1 month shipping. I also ordered the double-sided tape with pull tabs needed to secure the LCD in place. Add another $10 for 5pcs. You’ll be looking for Dell part no. 0NMKVF.
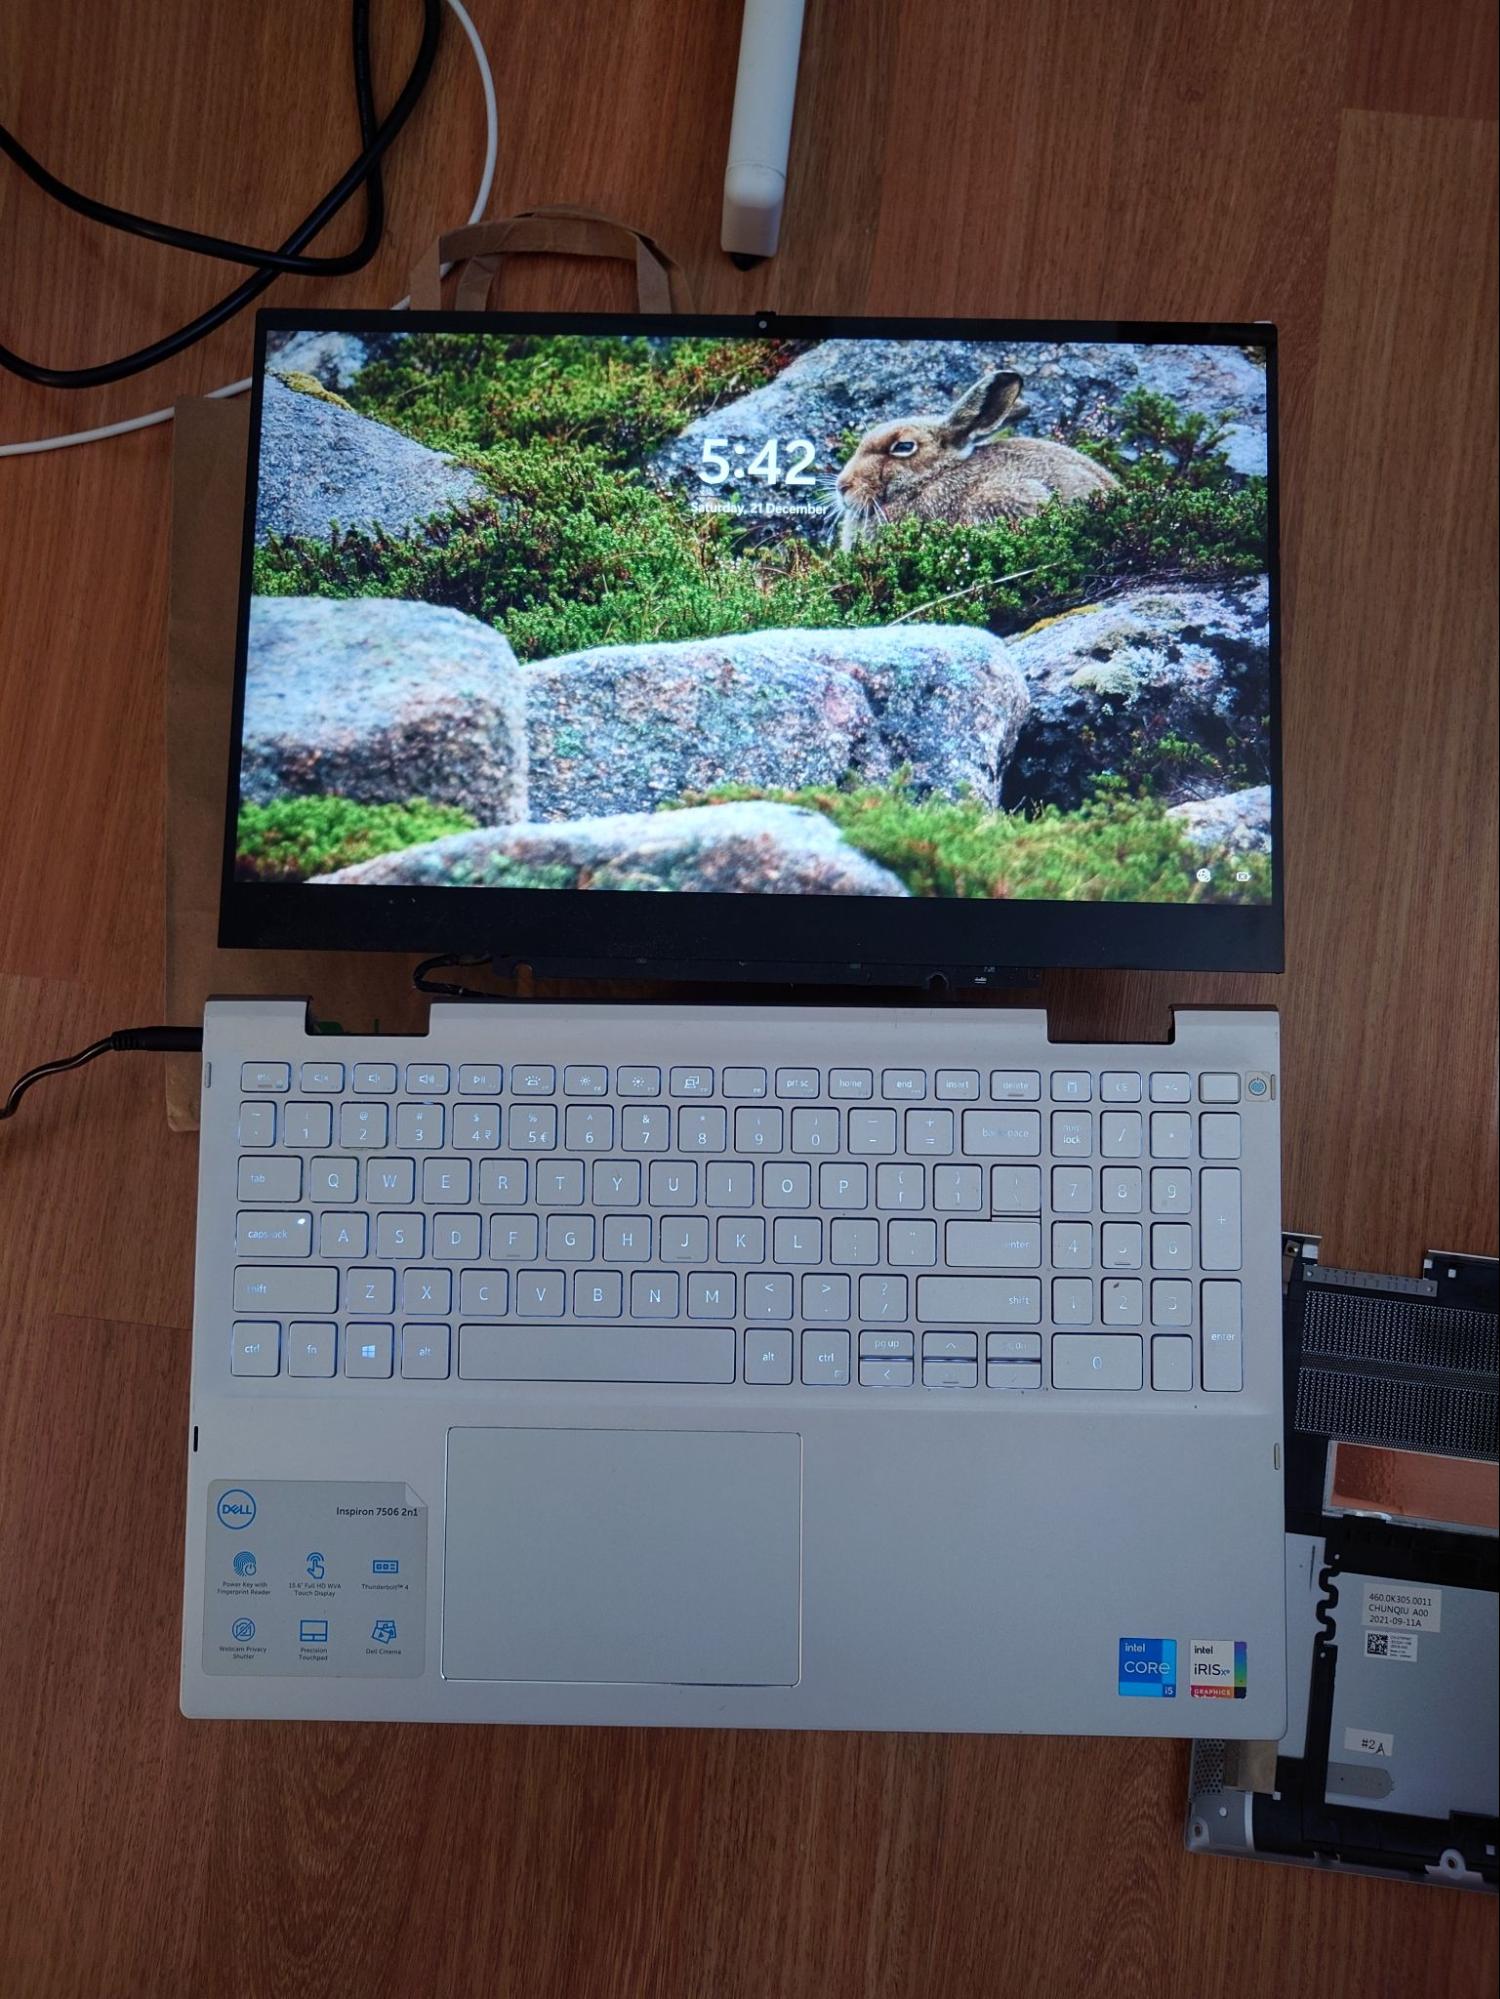
Left: old part, Right: new part
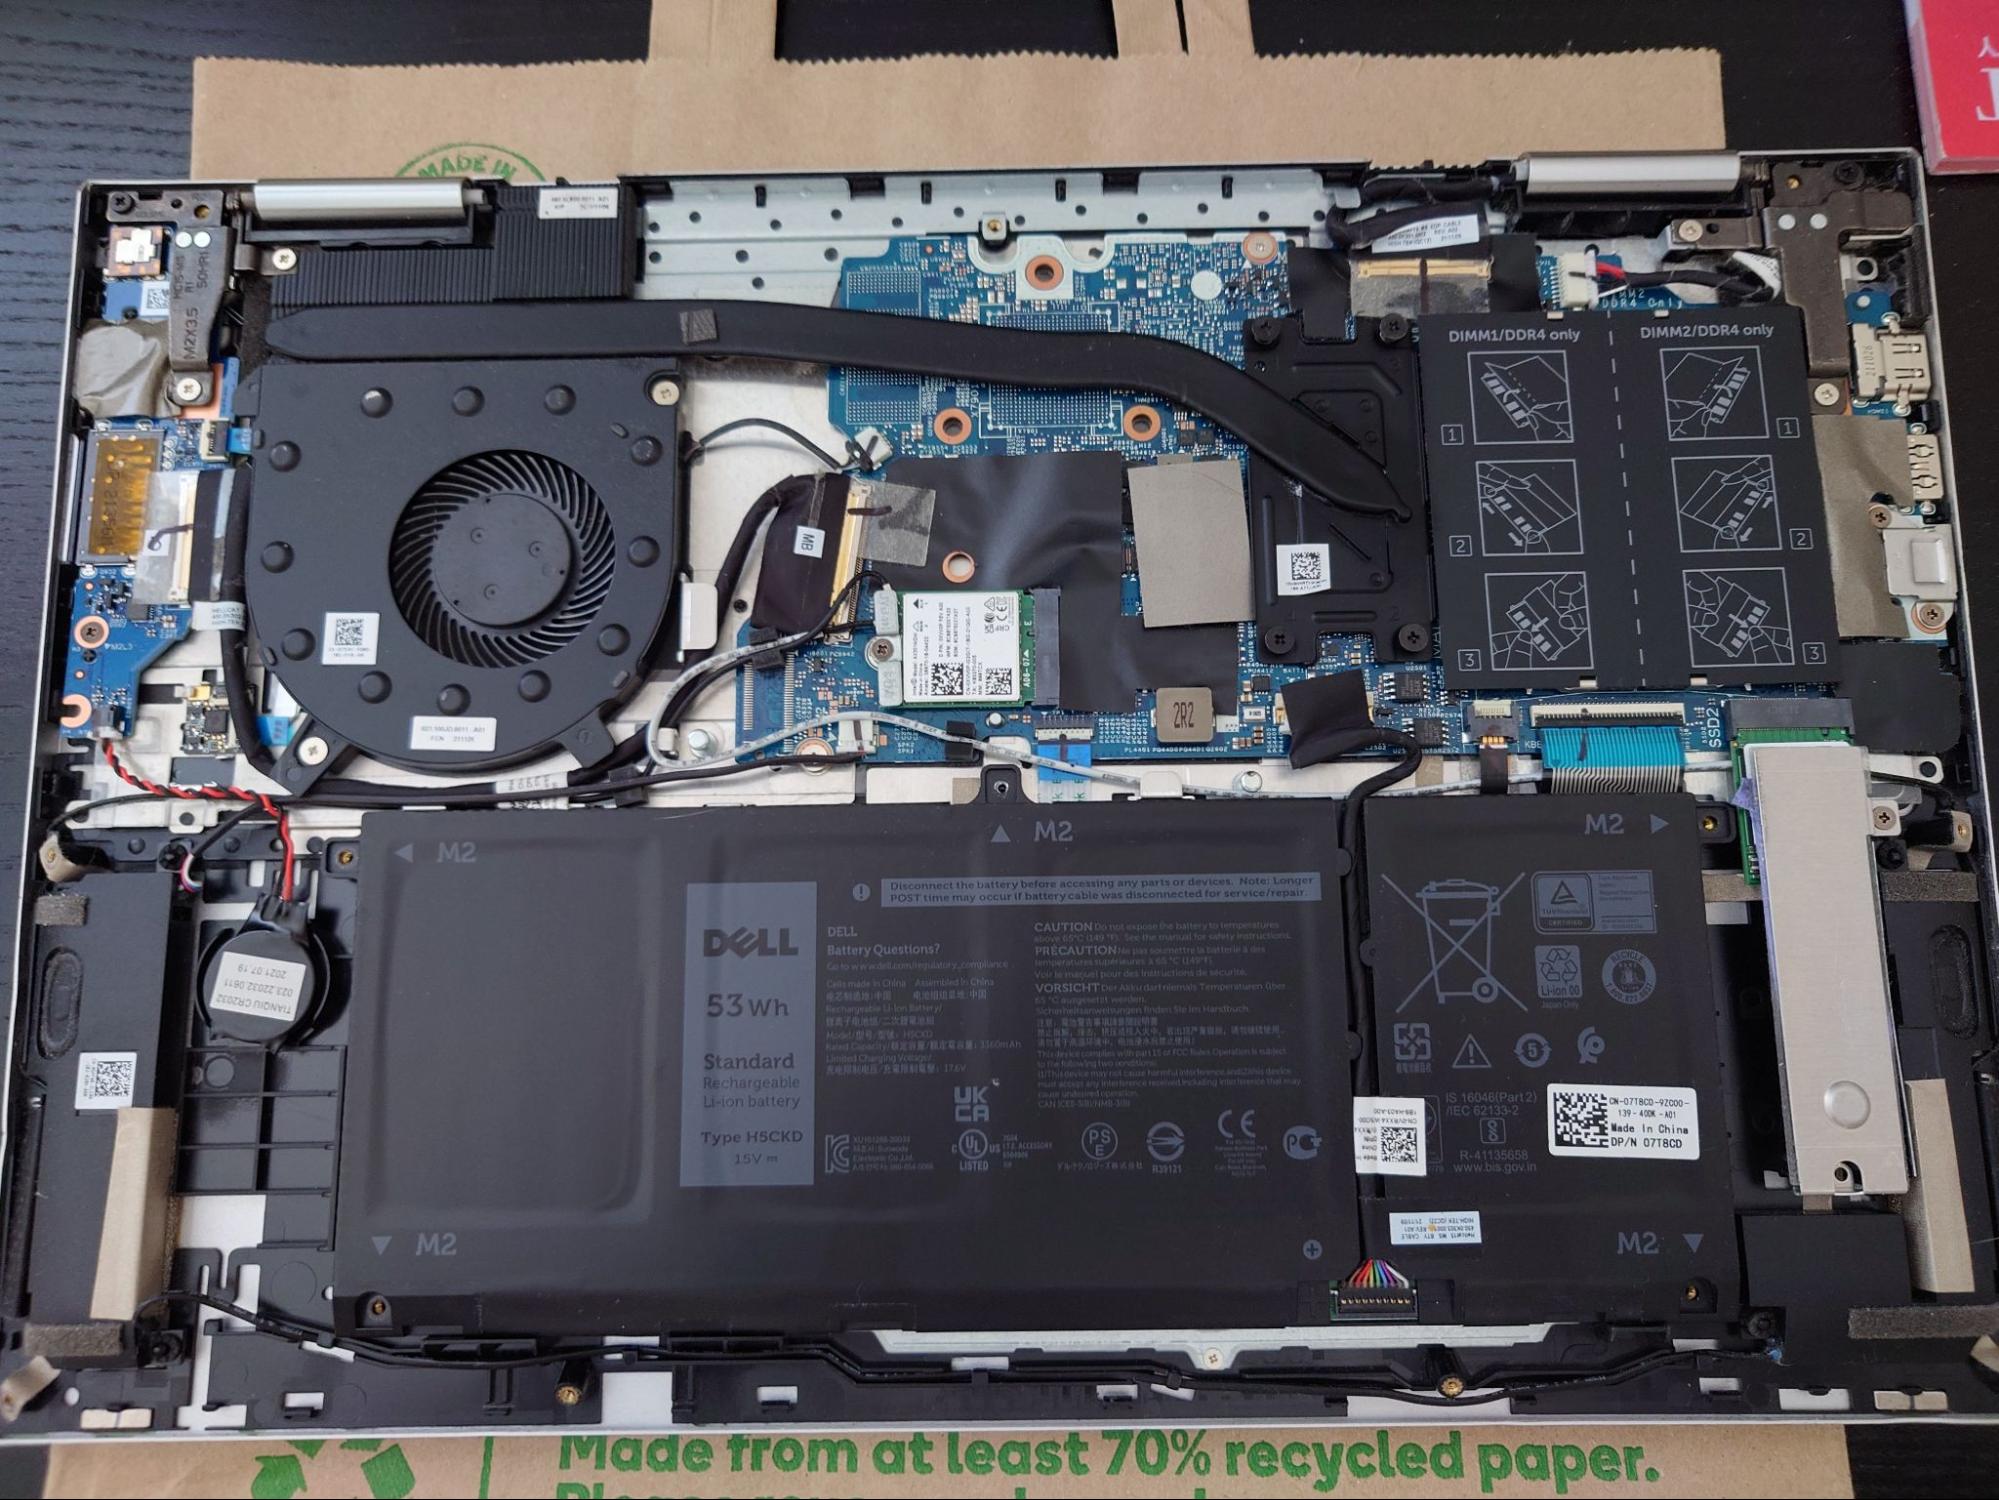
Taking apart the laptop is quite easy, there are 9 screws around the base of the laptop, the top three are retained in the case and the rest come out. Slowly work your way around the edge with a card to pop the latches, and the cover comes off easily. At this point it may be wise to disconnect the battery, as per good practice. I also removed it (there are 5 screws holding it in place).
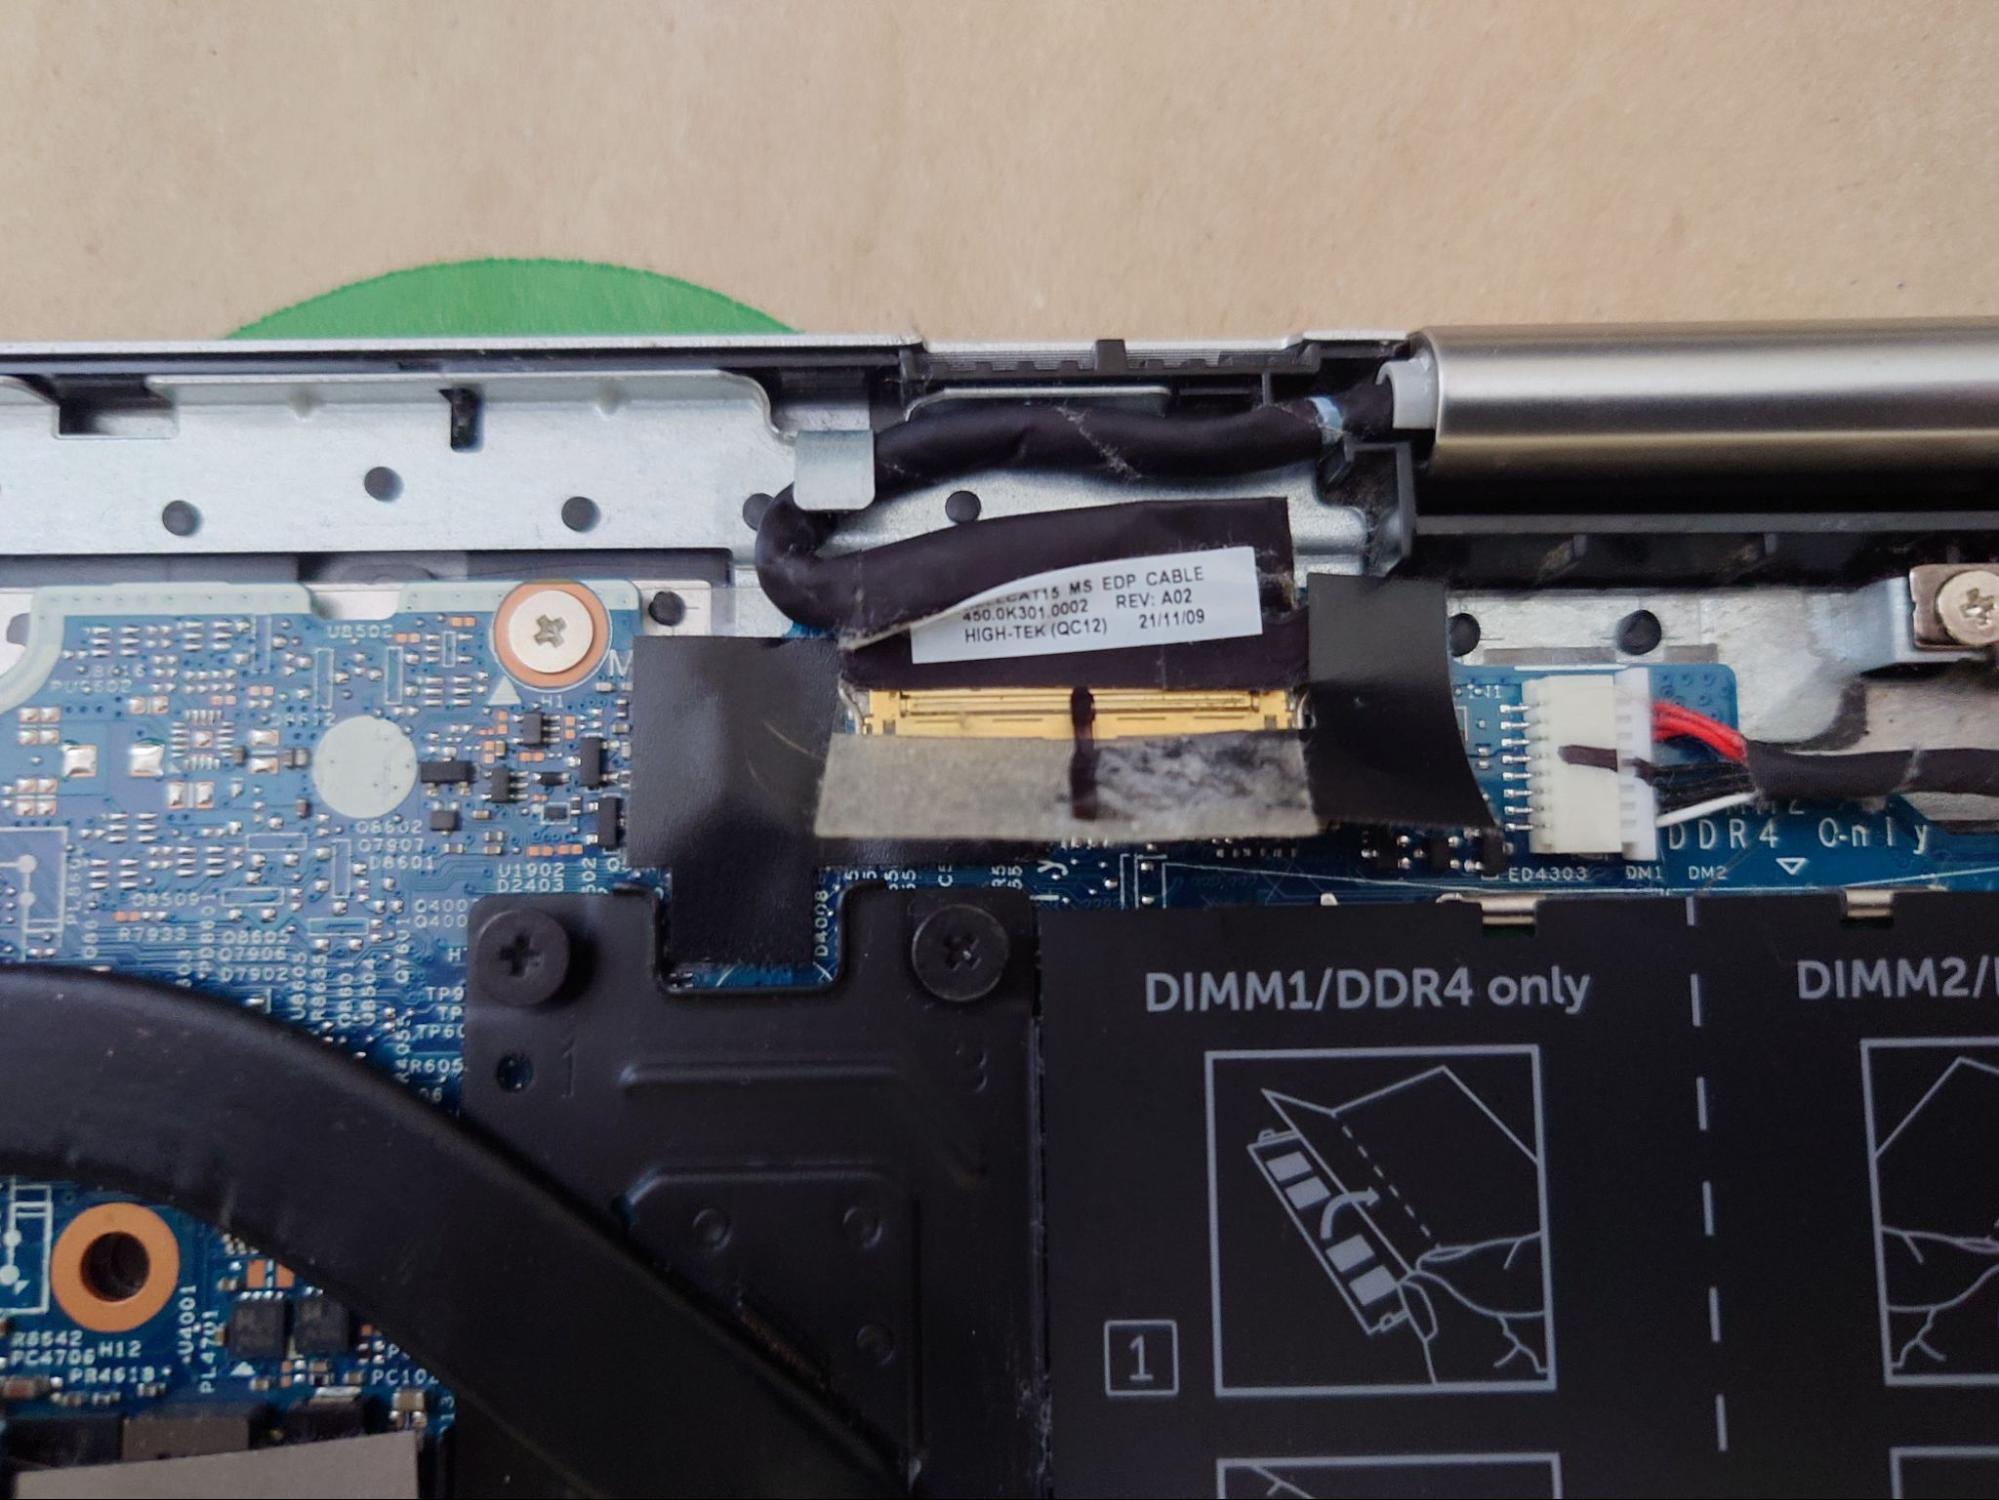
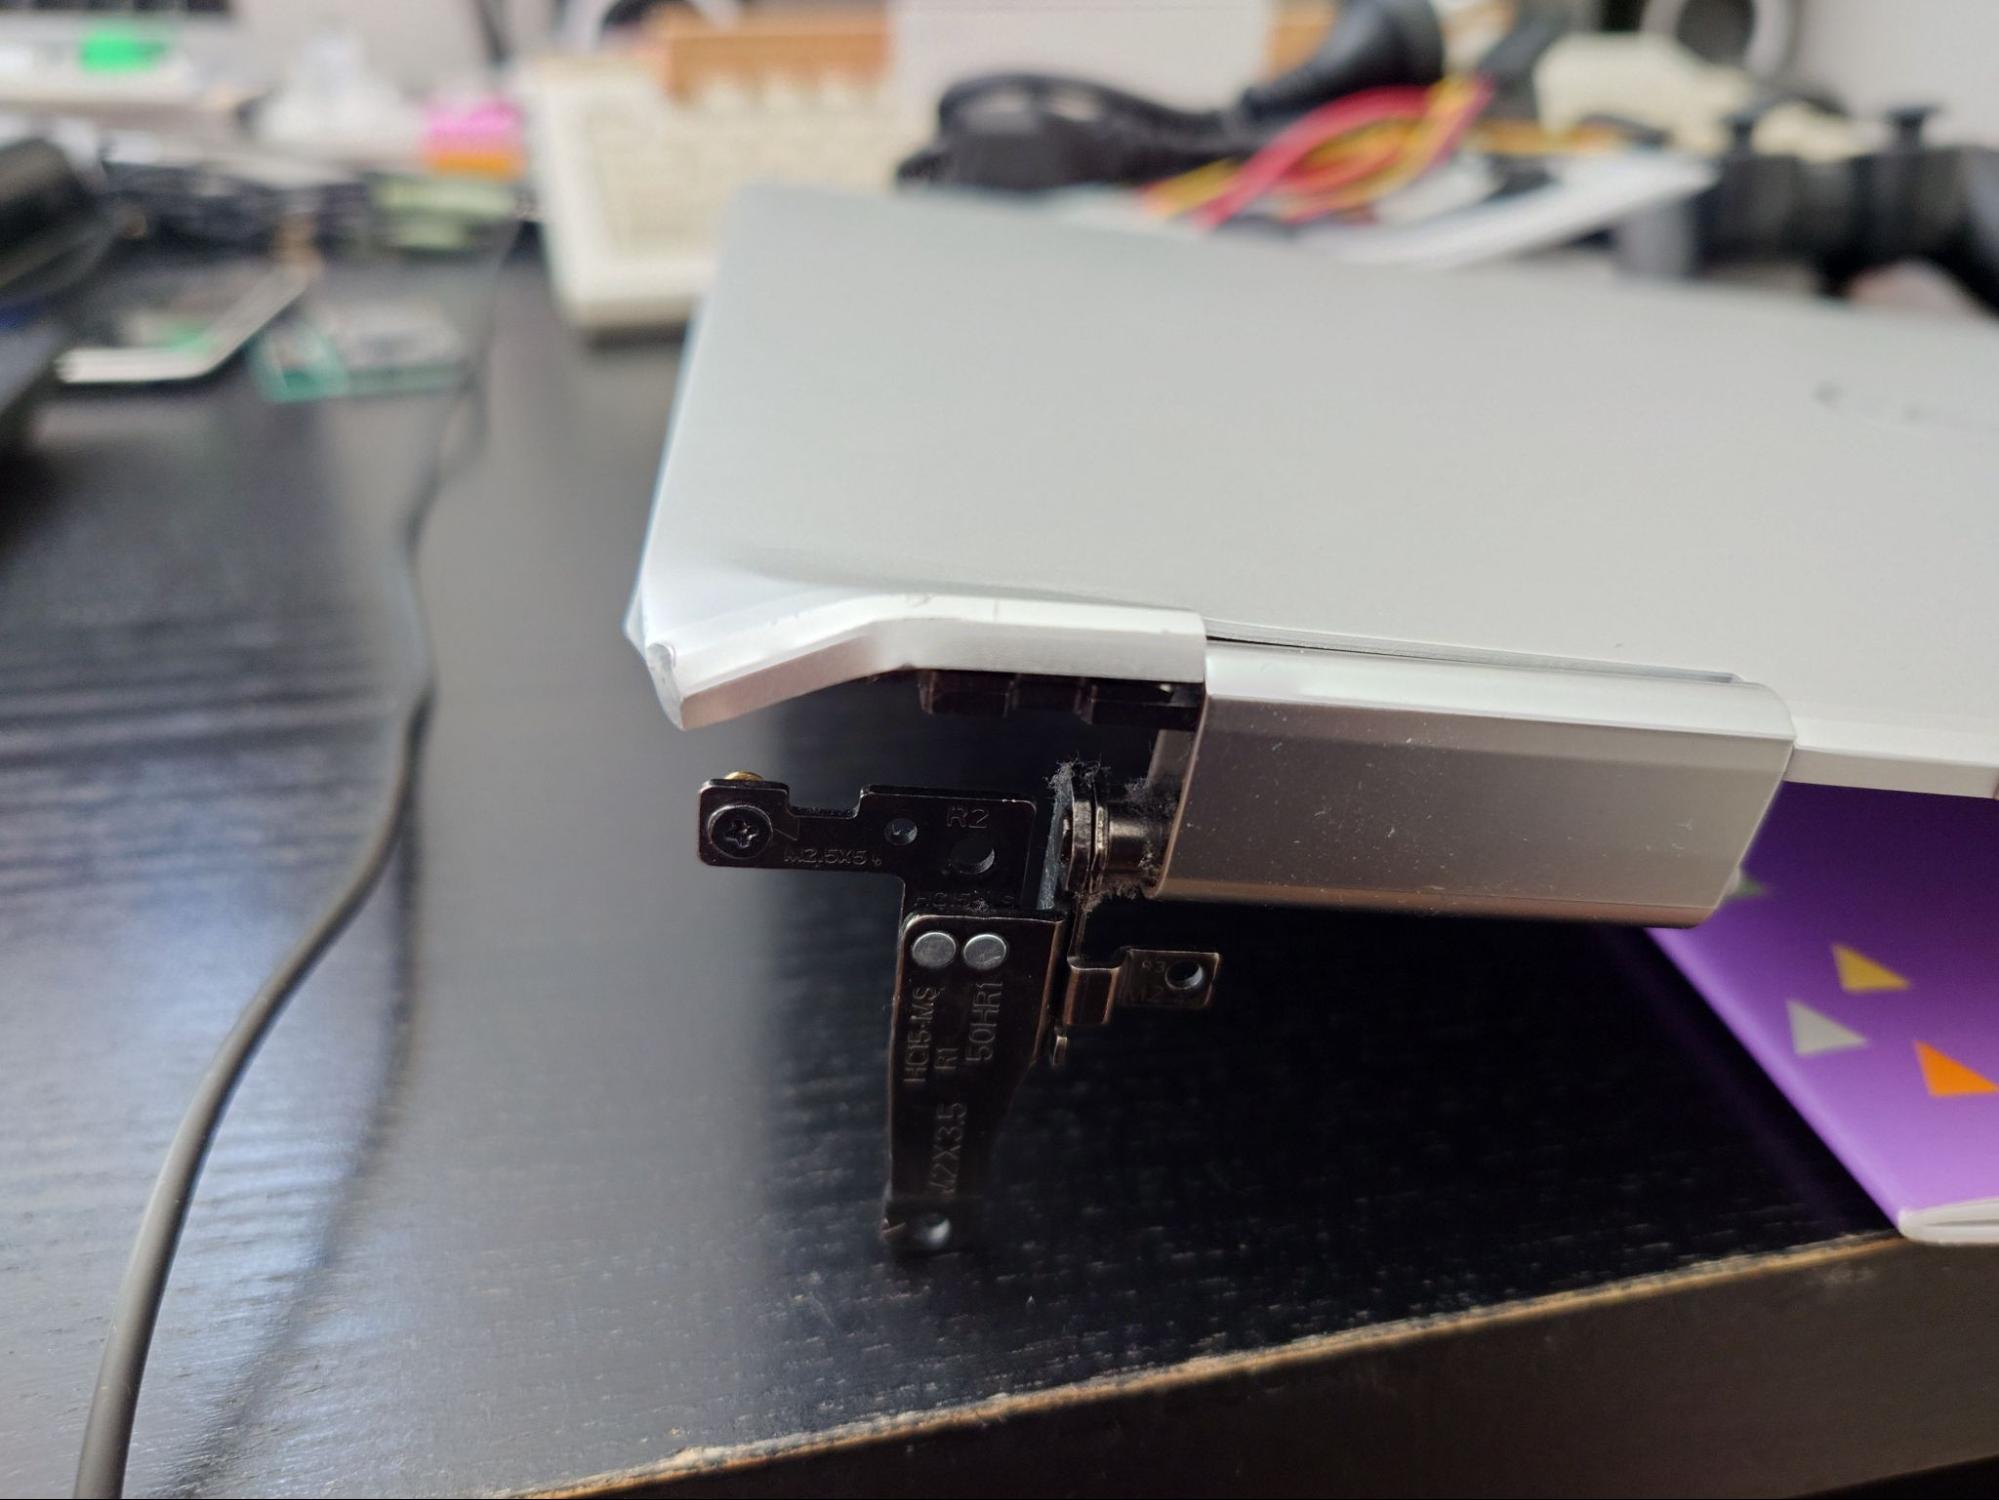
To remove the display assembly of the laptop, I first disconnected the LCD cable. It is in the top right and is covered by black and clear tape. The clear tape is removed to reveal the latch. It helps to unroute the cable from the tab before pulling it out. 6 screws, 3 on each hinge attach it to the computer. Once these screws are taken out, carefully open the hinge slightly, then pull the computer away from the display assembly (there are no Wi-Fi antenna cables!).
Now comes the hard part. Removing the LCD from the top cover while trying not to break it…
I did this the hard way, slipping a card into the seam and slowly prying the LCD out, running along the entire edge. This is not the correct way.
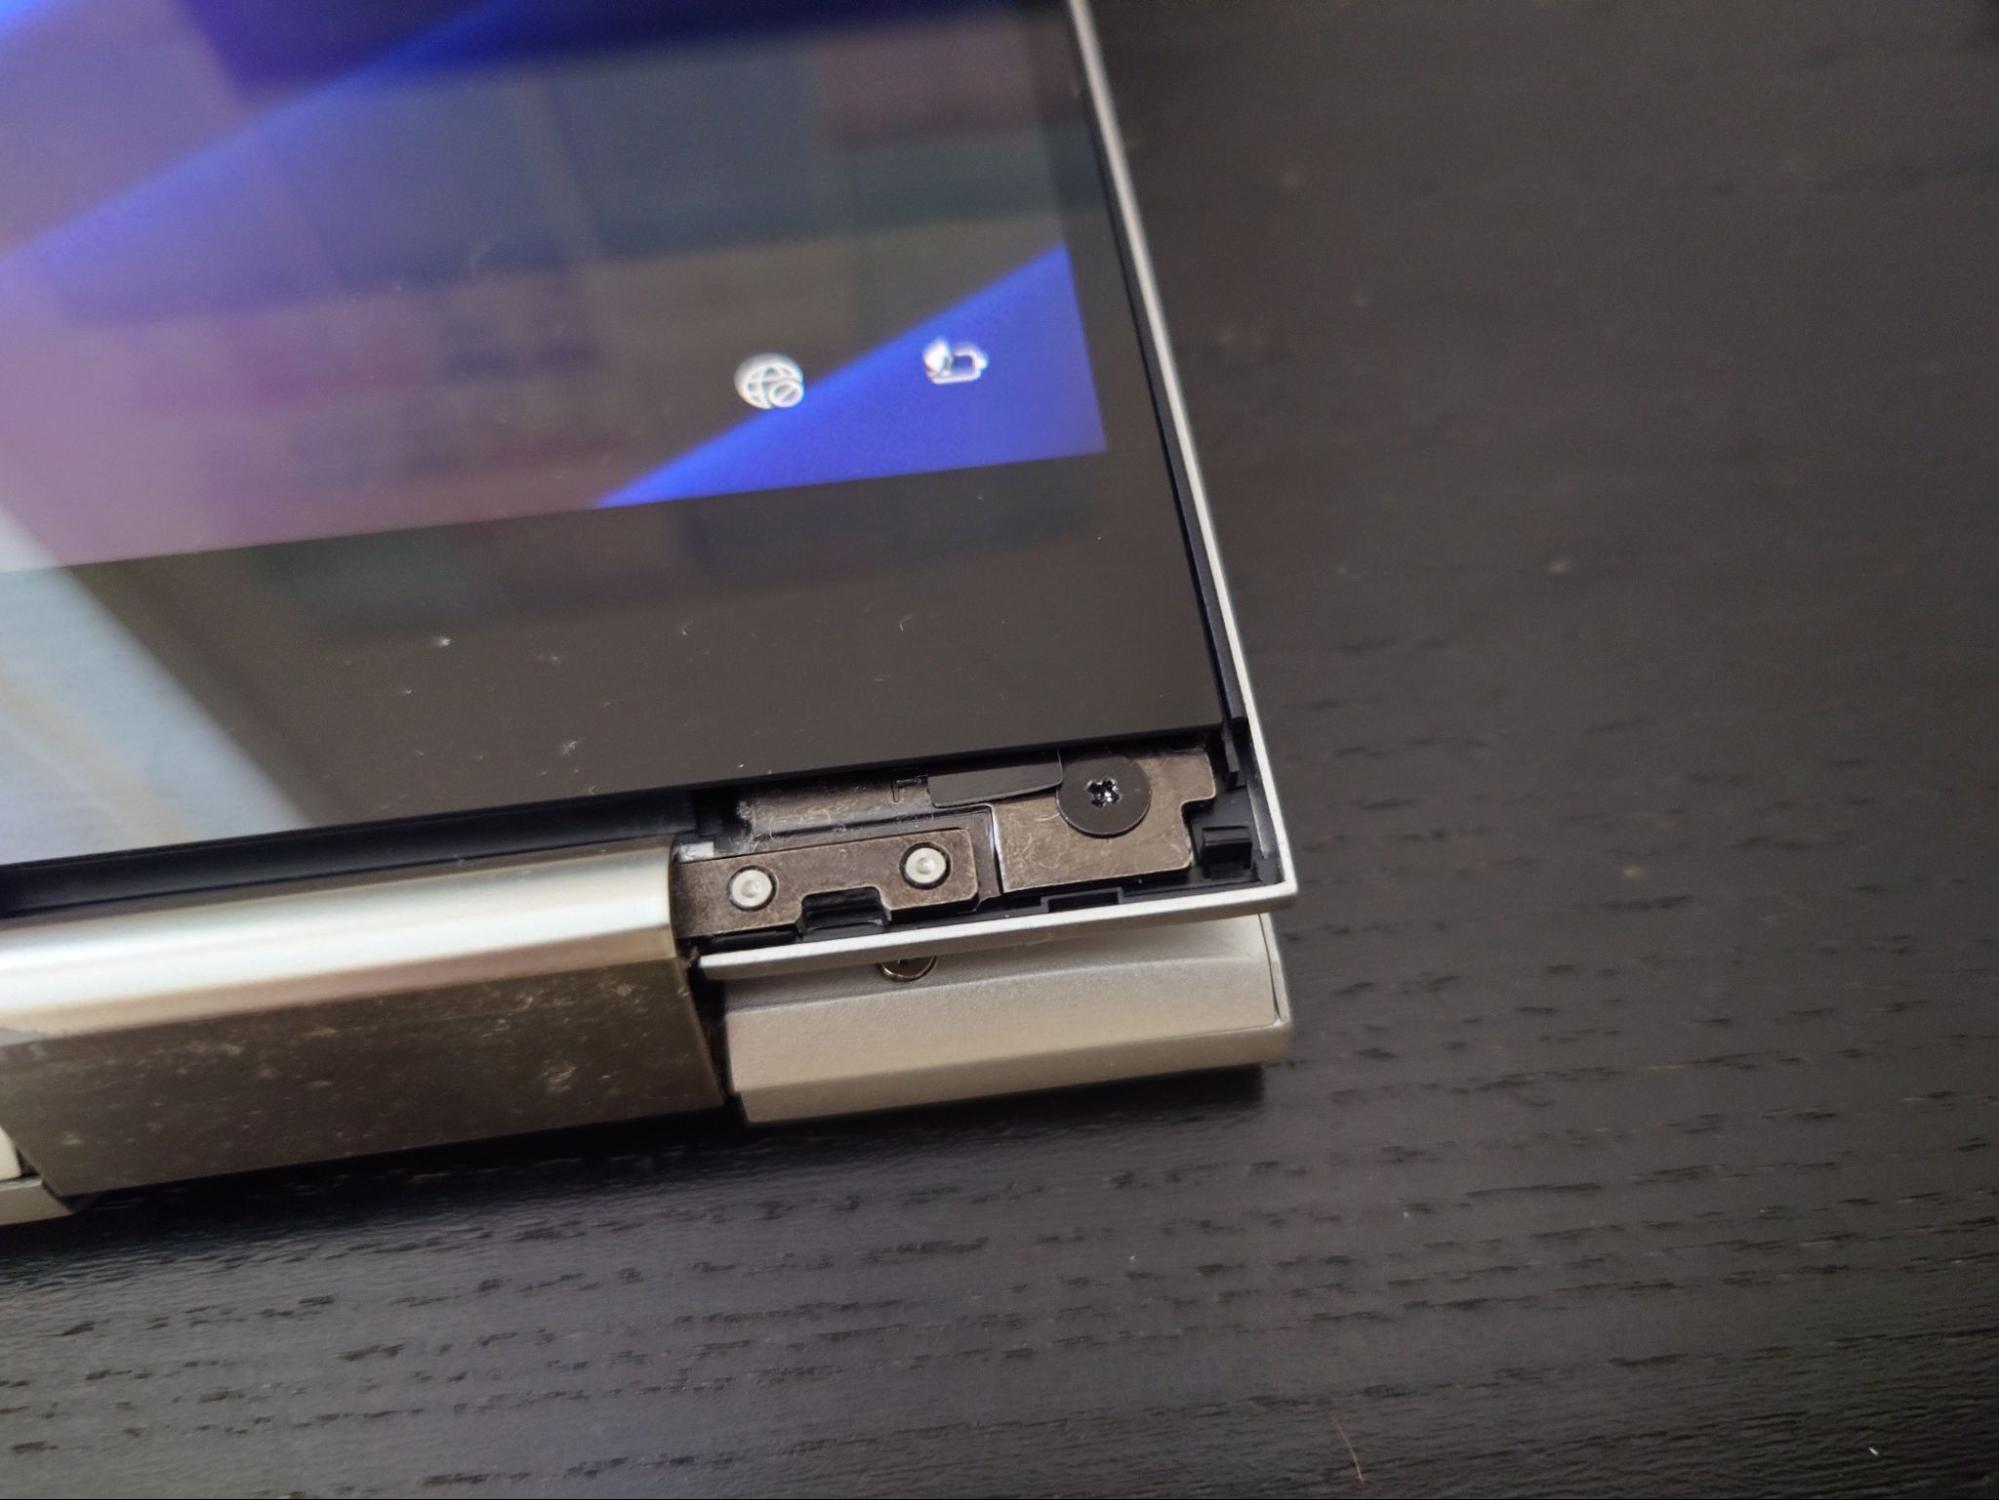
Nowadays, LCDs are attached with double-sided tape, with a convenient pull tab. On this laptop you will find them just under the hinges. Take a screwdriver or similar to grab the tab and slide it out, then use your fingers to grab it and pull it out. The material is very stretchy, but strong. Amazingly, it didn’t rip. Repeat for the other side. The LCD is secured by two magnets at the top and two screws at the bottom, so you’ll have to remove it by raising the top and hinging it. The plastic piece running along the middle will also pop out, revealing the screws.
Try not to lose the grey plastic tabs that cover up the hinge, there are 2 on each side, one in the middle.
Of course, be sure to test that you didn’t damage the LCD. Then you can transplant the hinges and panel to the new top cover.
Aside
While looking around the motherboard I noticed the primary SSD was labeled SSD2. Looking around I found the “connector” for SSD1, but it was unpopulated. Since 2020 laptop designs have become all the same, with boards designs being reused and connectors unpopulated. You can even see from the blank area with solder pads that a GPU and its VRAM could be installed in this board. No doubt it would be disabled by the firmware however.